Sewing the Perfect Makeup Bag Pattern: A Fun Sewing Challenge
Introduction to DIY Makeup Bag Project
Creating your own makeup bag can be a fulfilling DIY project. You can tailor it to your style and needs. The process is simple and creative, and it offers a sense of accomplishment when you see the final product. With the right materials and a bit of patience, you can sew a makeup bag that’s both beautiful and practical.
In this guide, we’ll explore how to make a makeup bag from scratch. This includes picking out materials, cutting fabric, sewing, and adding personal touches. No matter your sewing level, you can follow these steps to craft a unique makeup bag pattern. Let’s dive into this fun and rewarding sewing challenge together!

Tools and Materials Needed for Your Makeup Bag
Before you start creating your own makeup bag pattern, gather the right tools and materials. Here’s what you will need:
- Fabric: Choose a durable and easy-to-clean material like cotton or canvas.
- Lining: Select a lighter fabric that complements the outer fabric and adds to the bag’s interior.
- Zipper: A high-quality zipper will ensure your makeup bag opens and closes smoothly.
- Sewing Machine: A basic sewing machine is essential for stitching your makeup bag neatly.
- Scissors: Sharp scissors will help you cut the fabric accurately.
- Pins: Pins hold your fabric in place as you sew, making sure edges align properly.
- Thread: Use a strong thread that matches or contrasts nicely with your fabric.
- Measuring Tape: A measuring tape is crucial for cutting fabric to the right size.
- Iron: An iron will help remove wrinkles and create crisp folds in the fabric.
- Ruler: A straight edge helps you measure and cut straight lines.
- Marker or Chalk: Use this to mark your fabric before cutting.
- Seam Ripper: A seam ripper will be handy in case you need to undo any stitches.
Having these tools and materials ready will make the process smoother and more enjoyable. Now that you have everything, you can move on to the next steps in crafting your personalized makeup bag.
Choosing the Right Fabric
Choosing the right fabric is crucial for your makeup bag pattern. Here are some points to consider:
- Durability: Your makeup bag will hold various items and might experience rough handling. Go for materials like denim, canvas, or heavy cotton.
- Ease of Cleaning: Since makeup can spill or leak, selecting a washable and stain-resistant fabric is wise. Synthetic fabrics often resist stains well.
- Style: Pick a fabric that reflects your personality. Whether you want bold prints or solid colors, choose something that makes you happy every time you see it.
- Weight: Avoid fabrics that are too thick, as they can be hard to sew. Conversely, light fabrics may not provide enough structure.
- Cost: Keep your budget in mind. You don’t have to spend much to find quality fabric that looks great.
Remember to buy a little more fabric than your makeup bag pattern requires. This allows for any mistakes or last-minute changes in design. With these tips, you’ll find the perfect fabric to start your project.

Step-by-Step Instructions for Sewing Your Makeup Bag
Sewing your own makeup bag pattern can be a breeze with clear instructions. Let’s break it down into simple steps.
Cutting Fabric to the Perfect Size
The first step in creating your makeup bag is to cut the fabric. Lay your fabric flat on a work surface. Use your measuring tape to measure the desired dimensions of your bag. Mark these measurements on your fabric using a marker or chalk. Follow these marks and cut the fabric with sharp scissors. Don’t forget to cut the lining to match.
Sewing the Zipper
Next, attach the zipper. Place the zipper face down on the right side of the outer fabric. Pin the edge of the fabric to the zipper tape. Use your sewing machine to stitch them together. Repeat on the other side of the zipper with the remaining fabric. Make sure the zipper opens and closes easily before moving on.
Assembling the Bag
To assemble the bag, turn the fabric so that the right sides are together. Make sure the zipper is slightly open. Pin the sides and bottom of your bag. Sew these edges, leaving the corners free for now. Then, square off the corners for a flat bottom. Turn the bag right-side out and admire your work. Now, your DIY makeup bag pattern is taking shape!
Customization Ideas for Your Makeup Bag
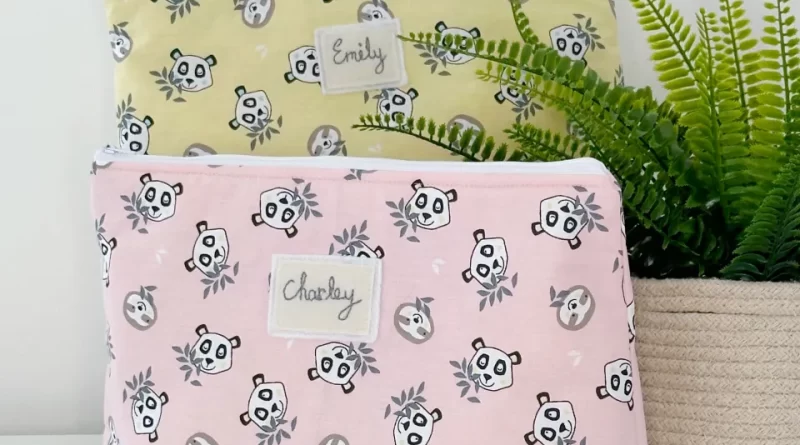
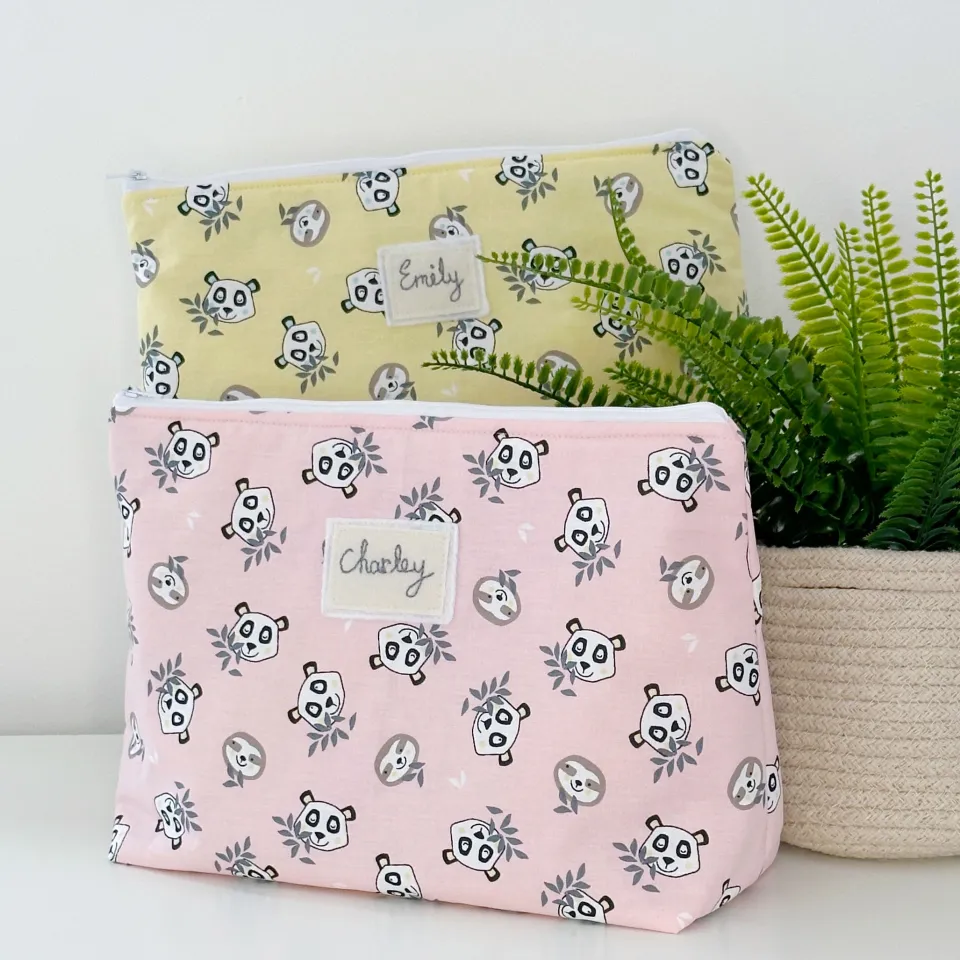
After assembling your makeup bag pattern, it’s time to add some personal flair. Here are a few customization ideas:
- Embroidery: Add your initials or a fun design using embroidery to give your makeup bag a personal touch.
- Patches: Iron on patches or sew on badges of your favorite bands, quotes, or icons to reflect your style.
- Fabric Paint: Use fabric paint to create unique patterns or designs. Let your imagination guide you.
- Beads and Sequins: Glue or sew on beads and sequins to make your bag sparkle and shine.
- Contrast Lining: Choose a bold lining color to add an unexpected pop when you open your bag.
- Multiple Compartments: Consider sewing in extra compartments or pockets for better organization of your makeup.
These ideas let you transform a simple makeup bag into something that stands out. Each addition makes your DIY project even more distinctive and tailor-made just for you.
Tips for Sewing Durable Makeup Bags
To ensure your DIY makeup bag lasts, focus on durability while you sew. Keep your makeup bag pattern strong with these tips:
- Double Stitching: Use a double stitch along the seams for extra strength. This helps the bag endure frequent use.
- Quality Zipper: Invest in a high-quality zipper to avoid snags and breaks. A sturdy zipper keeps your items secure.
- Reinforce Corners: Add additional fabric layers or stitches at the corners. This is where tension is highest.
- Seam Allowance: Leave enough seam allowance to prevent fraying and splitting at the edges.
- Lining Material: Choose a lining that’s lightweight but durable. It should protect the outer fabric and be easy to clean.
- Interfacing: Use interfacing to give your bag more structure. This makes it less likely to tear.
By paying attention to these areas, your handmade makeup bag will stand the test of time. Happy sewing!
Troubleshooting Common Sewing Issues
While sewing your makeup bag pattern, you may encounter some common issues. Here are tips to solve them:
- Needle Breaking: If your needle breaks, it may be the wrong size. Use a needle suitable for the fabric weight.
- Thread Bunching: Thread tension may be off. Adjust your sewing machine’s tension settings. Rethread the machine if needed.
- Fabric Not Feeding: Check if the feed dogs are up and moving. Clean lint from under the needle plate.
- Stitches Skipping: A blunt or bent needle can cause this. Replace it with a new, sharp needle.
- Zipper Issues: If your zipper won’t sew properly, switch to a zipper foot. Ensure the zipper teeth are not caught in the seam.
- Seams Puckering: This could be due to tight stitches. Loosen the stitch length or tension.
- Pattern Misalignment: Before cutting, double-check the fabric alignment. Pin patterns securely before cutting.
These fixes will help you continue crafting your makeup bag with fewer interruptions. Keep your sewing tools in good condition, and always have spare needles and bobbins ready. With patience and practice, you’ll overcome these sewing challenges.
Final Touches and Maintenance of Your DIY Makeup Bag
Once your makeup bag pattern has become a reality, the last touches are key. These elements ensure your DIY makeup bag not only looks great but remains in top condition. Here’s how to finish strong and keep your bag looking fresh.
- Press the Seams: An iron can help flatten any bulky seams. Do this carefully to give your bag a polished look.
- Topstitching: Adding a line of topstitching can reinforce seams and add a professional touch. Choose a thread that stands out for added style or one that blends in for a clean finish.
- Check for Loose Threads: Snip any loose threads you may find. This stops them from unraveling further.
- Clean Regularly: Empty your bag and shake out any debris. Wipe the inside with a damp cloth every so often.
- Gentle Wash: If your fabric allows, hand wash your bag in cool water with mild detergent. Air dry it to avoid any shrinkage.
- Repair When Needed: If your bag gets a tear or the zipper gives in, fix it right away. This prevents small issues from becoming big ones.
Taking good care of your DIY makeup bag will extend its life. It helps your makeup bag stay as useful and beautiful as the day you finished sewing it. By investing time in these final steps and regular maintenance, your handcrafted bag can serve you well for years to come. Enjoy using your personal, custom-made makeup bag pattern each day, knowing you created it with your own hands. Keep sewing and expressing your creativity through your DIY projects!