Sew Your Own DIY Makeup Bag: A Step-by-Step Creative Guide
Introduction to DIY Makeup Bag Crafting
Creating your own diy makeup bag is both rewarding and practical. With a bespoke makeup bag, you can choose the size, fabric, and design to match your personal style. Whether you’re a beginner or an experienced crafter, this guide will walk you through each step of making your very own makeup bag. This project isn’t just about saving money; it’s also a great way to upcycle materials you already have at home. Plus, DIY crafting enables you to produce a unique item that you can’t find in stores. So, let’s get your sewing kit out and begin this creative journey to fashion a one-of-a-kind accessory for your cosmetics!
Materials Needed for Your Makeup Bag
Before diving into the process of creating your diy makeup bag, gather all necessary materials. Having everything at hand will make the project smooth and enjoyable. Here’s what you’ll need:
- Fabric: Choose a piece large enough for the bag’s size. Consider cotton, canvas, or polyester for durability.
- Lining Fabric: This is optional, but it adds a professional touch and helps protect the inside of your bag.
- Zipper: The length should match the width of your bag. Pick a sturdy one for frequent usage.
- Sewing Thread: Make sure it matches or complements your fabric. Strong thread will hold the bag together better.
- Sewing Machine: A basic sewing machine will do, but ensure it can handle the fabric you’ve chosen.
- Scissors: You’ll need sharp scissors for cutting fabric and thread.
- Pins or Clips: These will help in holding your fabric in place while you sew.
- Iron and Ironing Board: Ironing the fabric pre-sewing gives a crisper, professional finish.
- Ruler or Tape Measure: Accuracy is key. Use these for measuring and cutting straight lines.
- Marker or Chalk: These are for marking cut lines on your fabric.
Preparing these materials in advance ensures an organized workspace, so you can focus on the fun part – crafting your diy makeup bag!
Choosing the Right Fabric for Your Bag
Selecting the right fabric is crucial for your diy makeup bag. Fabric choice affects durability, style, and ease of maintenance. Here are key points to consider when choosing your fabric:
- Functionality: Think about what you will store in your makeup bag. If you carry liquids, consider a water-resistant fabric like polyester.
- Durability: If your makeup bag will travel a lot, choose a sturdy fabric like canvas. It will withstand wear and tear better.
- Aesthetic: Your fabric’s color and pattern should reflect your personal style. Have fun with prints!
- Ease of Sewing: If you’re a beginner, opt for a fabric that is easy to handle. Cotton is a good start.
- Weight: Heavier fabrics give more structure to your bag. However, they might be harder to sew.
- Lining: Consider a lining to keep the inside clean. A light fabric like silk or nylon can protect against spills.
Remember to pre-wash your fabric to avoid shrinking after your bag is made. Iron it before cutting to ensure accuracy. Taking these steps will help your diy makeup bag look and function its best.
Step-by-Step Sewing Instructions
Now that you’ve selected your fabric and gathered all the necessary materials, let’s dive into the sewing instructions for your diy makeup bag. Following these steps will help you create a sturdy and stylish bag that’s perfectly suited to your needs.
- Cut the Fabric: Using your scissors, cut two pieces of fabric and lining each to your desired dimensions plus seam allowance.
- Mark the Sewing Area: With your marker or chalk, draw a line on the wrong side of the fabric, this indicates where to sew.
- Sew the Lining: If using lining, place it against the fabric’s wrong side. Stitch them together along the marked lines, leaving one side open.
- Attach the Zipper: Align the zipper with the open side of the fabric and use pins or clips to hold it in place. Sew along the edge to secure the zipper.
- Assemble the Bag: Turn the fabric right-side out. Fold it into the bag shape with the zipper at the top. Pin or clip the sides together.
- Stitch the Sides: Sew the sides of the bag, ensuring you backstitch at the beginning and end for extra durability.
- Trim Excess: Cut away any excess thread or fabric to clean up the edges.
- Final Touches: Close the lining if you haven’t done so already, and press the bag with an iron for a finished look.
Remember to go slowly if you’re a beginner. Accuracy is more important than speed. With patience and care, you’ll create a beautiful diy makeup bag that’s both functional and fashionable.
Adding Zippers and Pockets
Adding zippers and pockets to your diy makeup bag enhances both its functionality and style. This stage requires precision but the effort pays off when you have a place for everything. Here’s how to incorporate these elements smoothly into your design.
- Choose Your Zipper: For a smooth closure, pick a zipper that matches the length of your bag opening. A nylon coil zipper is often a good choice for its durability and ease of installation.
- Install the Zipper: Position the zipper face down on the right side of the outer fabric. Use pins or clips to secure it in place. Stitch carefully along the tape’s edge, ensuring the zipper operates smoothly.
- Creating Pockets: Decide the size and number of pockets you want. Cut the fabric to size, allowing for a seam allowance.
- Attach the Pockets: Place the pocket piece on the lining fabric. The right sides should be facing each other. Sew around, leaving an opening for turning it right side out.
- Finalize the Pockets: Turn the pocket right side out. Iron it flat and stitch it onto your lining where desired. Make sure you backstitch for strength.
By adding customized pockets and choosing a quality zipper, your diy makeup bag becomes both more personal and professional. Now, you’ll have spots for each of your makeup items and a bag that opens and closes with ease. The next steps will involve putting your own creative touch on the design.
Customizing Your Makeup Bag Design
Once your diy makeup bag is taking shape, it’s time to personalize it. Customizing your design adds flair and makes your makeup bag truly yours. Here’s how you can do it:
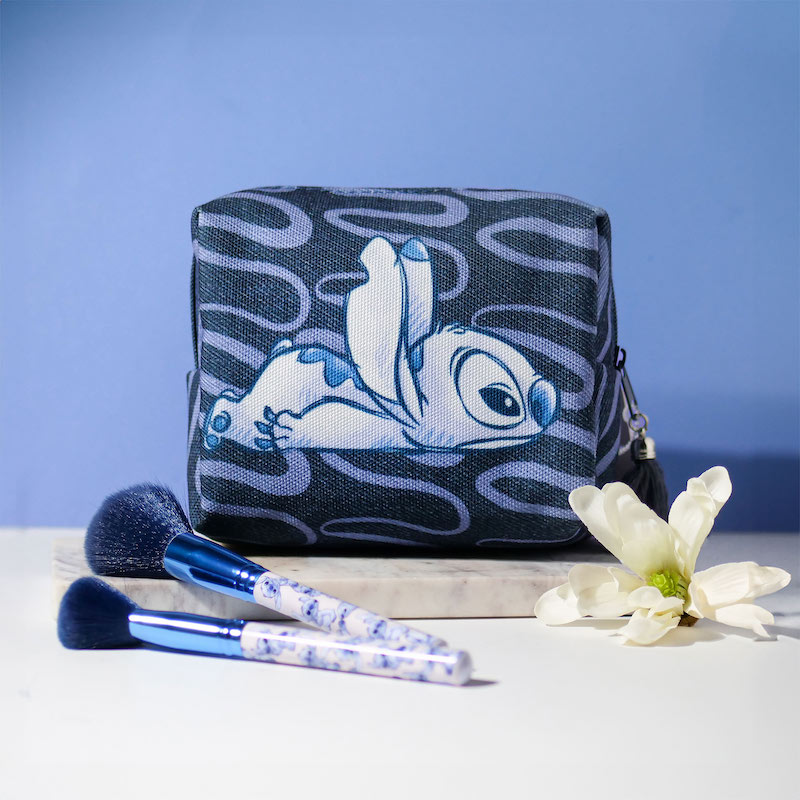
- Choose a Theme: Select a theme that reflects your style. It could be floral, abstract, or geometric patterns.
- Pick a Color Scheme: Decide on a color scheme that complements your theme. Stick to colors that you love.
- Add Embellishments: Consider adding lace, buttons, or beads for a unique look. Sew them on securely.
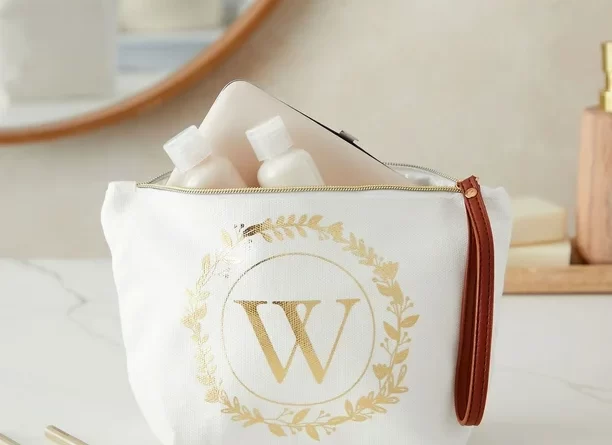
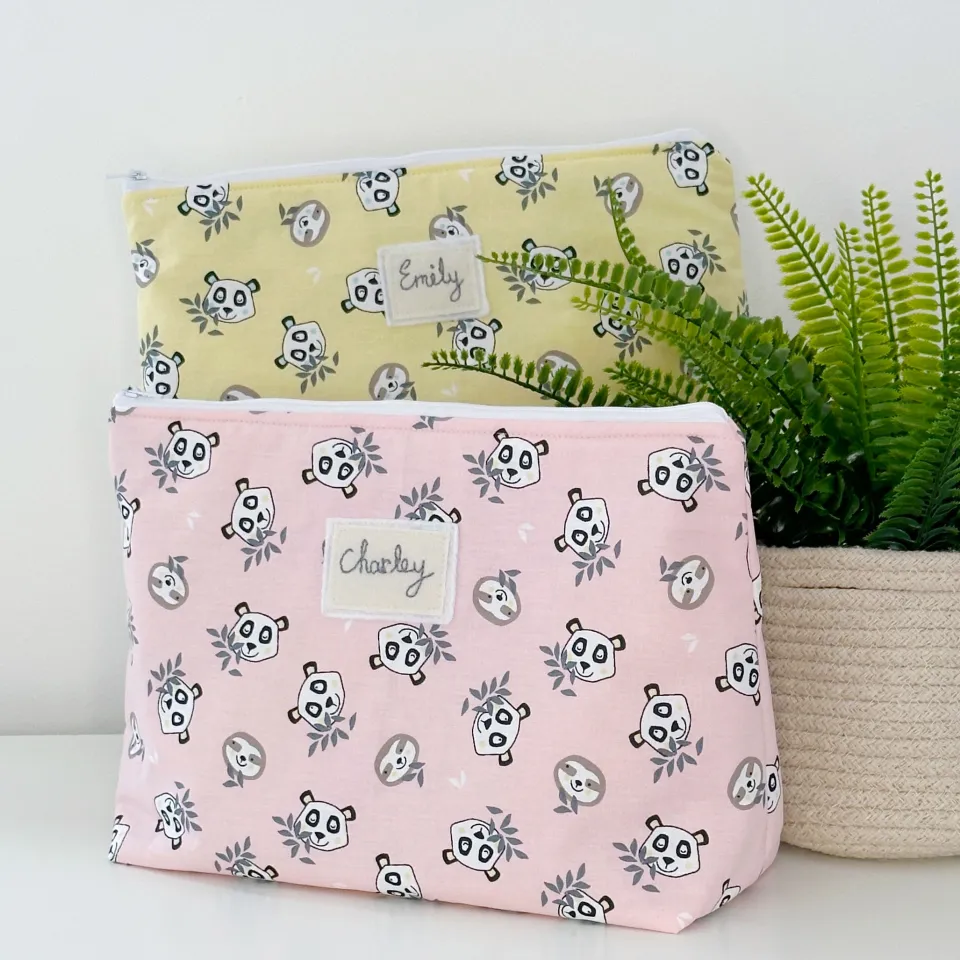
- Embroider Your Name: If you can embroider, add your name or initials. This touch makes it personal.
- Play with Texture: Mix fabrics with different textures for visual interest. Balance is key to style.
- Appliqué Designs: Cut out fabric shapes and appliqué them onto your bag. This adds dimension.
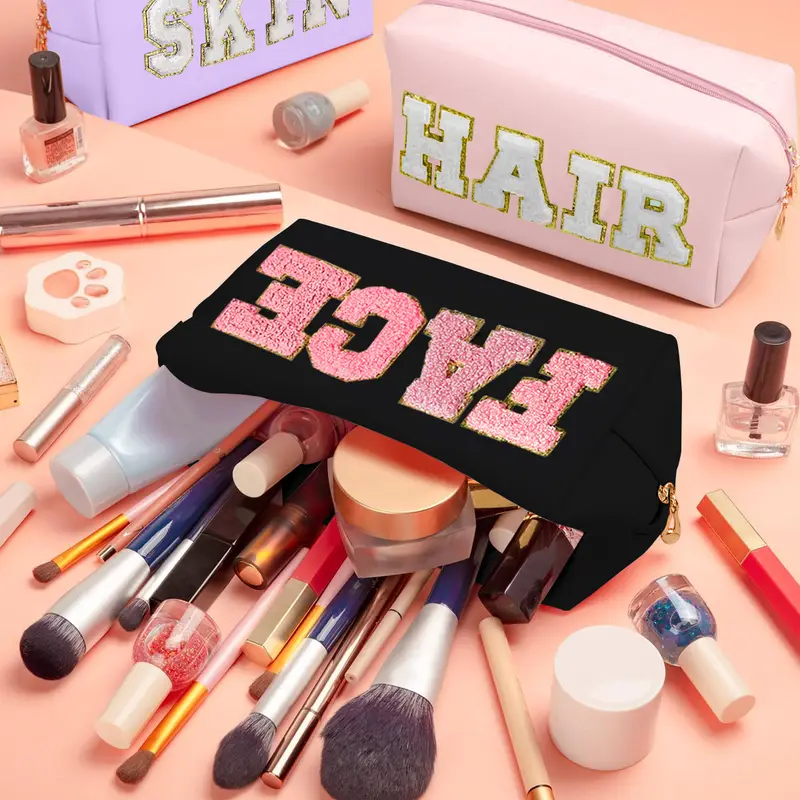
- Use Iron-On Patches: For a simple DIY, iron-on patches are quick and add personality.
- Stenciling: Use fabric paint and stencils to create patterns. This is an easy way to add graphics.
Through these customization tips, you not only create a diy makeup bag but also express your creativity. You make a bag that stands out. Have fun with the process and make it reflect your personality.
Tips for Maintaining Your Handmade Makeup Bag
Your DIY makeup bag is a reflection of your hard work and personal style. To keep it looking great and functioning well, proper care is essential. Here are some maintenance tips to make sure your makeup bag stays in perfect shape:
- Regular Cleaning: Wipe the exterior with a damp cloth. For the lining, turn it inside out and gently clean any marks.
- Spot Treatment: Treat stains immediately. Use a mild soap and water solution for fabric surfaces.
- Avoid Overloading: Do not overfill the bag. This prevents stress on the zipper and seams.
- Zipper Care: Lubricate the zipper with candle wax for smooth operation. Fix any misalignments promptly.
- Lining Protection: Use pouches within the bag to keep makeup from spilling on the lining.
- Storage: Store your makeup bag in a dry place away from direct sunlight to prevent fading.
- Refresh the Fabric: Iron the fabric occasionally to remove wrinkles and restore shape.
- Regular Inspection: Check seams and attachments regularly for any signs of wear and repair them on time.
By following these simple tips, your DIY makeup bag will remain a stylish and functional companion for your daily makeup routine.
Final Thoughts on DIY Makeup Bag Creation
Crafting your own diy makeup bag is a satisfying and creative process. You’ve learned the steps from selecting fabric to adding unique features. Your personal touch makes it unlike any other. Remember, the beauty of a handmade item lies in its imperfections. They tell a story of effort, learning, and passion.
Your new makeup bag is not just practical, but it’s a testament to your skills. Whether you keep it for yourself or give it as a gift, it carries value. If you gift it, the recipient will appreciate the thought and effort. Homemade gifts often hold more meaning than store-bought ones.
Continue to practice your crafting. With each project, your sewing and customization skills will grow. Experiment with different fabrics, patterns, and additional features like pockets and padded sections. Each diy makeup bag can be a new canvas for your imagination.
Maintain your creation with love. Follow the care tips provided to ensure it lasts long and serves you well. Take pride in your work. Each time you reach for your makeup bag, let it remind you what you can achieve with some fabric and creativity.
In conclusion, the journey of making a diy makeup bag can be as rewarding as the finished product. Keep creating, learning, and enjoying the craft. Share your experience and inspire others to try. Who knows? Your simple sewing project might spark a lifelong passion for crafting. Happy sewing!


